Low Pressure Lock-Off (LPL) Solenoid Replacement
TOOLS REQUIREDJ 41416 Ultrasonic Leak Detector
REMOVAL PROCEDURE
1. Relieve the CNG fuel system pressure. Refer to Fuel Pressure Relief Procedure.
CAUTION: Refer to Battery Disconnect Caution in Service Precautions.
2. Disconnect the negative battery cable.
3. Disconnect the low pressure lock-off (LPL) electrical connector.
4. Remove the harness clip from the mounting bracket.
5. Disconnect the fuel lines.
6. Remove the LPL outlet fitting.
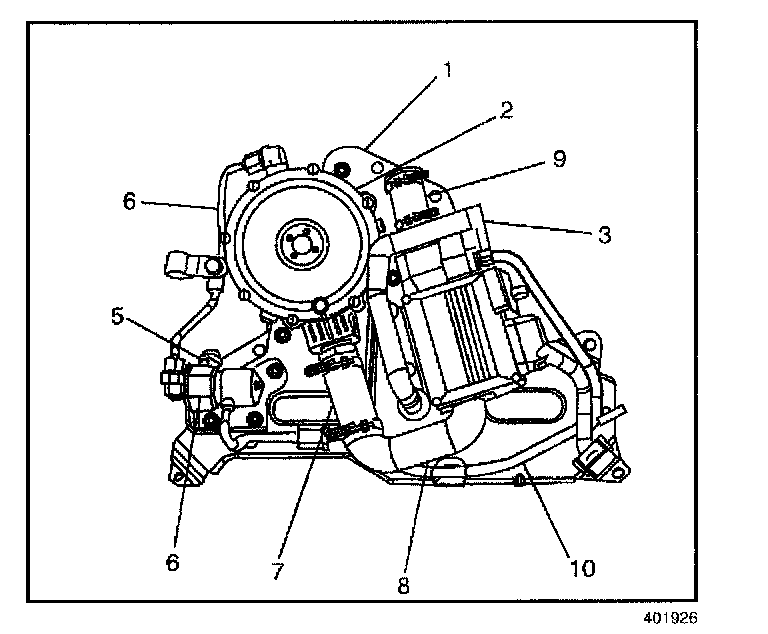
7. Remove the LPL inlet fitting (5).
8. Remove the LPL-to-bracket mounting bolts.
9. Remove the LPL.
INSTALLATION PROCEDURE
IMPORTANT: Apply pipe thread sealant to the threads of the fuel inlet and the fuel outlet fittings before installation. Do not use Teflon(R) tape.
1. Install the LPL solenoid to the bracket. Align the LPL inlet fitting port (5) to the CNG fuel inlet line.
NOTE: Refer to Fastener Notice in Service Precautions.
2. Install the LPL mounting bolts.
Tighten
Tighten the LPL mounting bolts to 12 N.m (108 lb in).
3. Install the LPL inlet fitting (5).
Tighten
Tighten the fuel inlet fitting finger-tight plus one to three turns.
4. Install the LPL outlet fitting. Align the LPL outlet fitting to the LPL to LPR line (6).
Tighten
Tighten the fuel outlet fitting finger-tight plus one to three turns.
5. Connect the fuel line inlet fitting using a new O-ring face seal. Lubricate the O-ring with petroleum jelly or the equivalent.
Tighten
Tighten the fuel line fitting to 24 N.m (18 lb ft).
6. Connect the fuel line outlet fitting using a new O-ring face seal. Lubricate the O-ring with petroleum jelly or the equivalent.
Tighten
Tighten the fuel line fitting to 24 N.m (18 lb ft).
7. Install the harness clip to the mounting bracket.
8. Connect the LPL electrical connector.
9. Connect the negative battery cable.
Tighten
Tighten the bolt to 15 N.m (11 lb ft).
10. Start the engine. Inspect for CNG fuel leaks at each serviced fitting using the J 41416.