High Pressure Regulator (HPR) Replacement
TOOLS REQUIREDJ 41416 Ultrasonic Leak Detector
REMOVAL PROCEDURE
1 Relieve the CNG fuel system pressure. Refer to Fuel Pressure Relief Procedure.
2. Lower the rear seat.
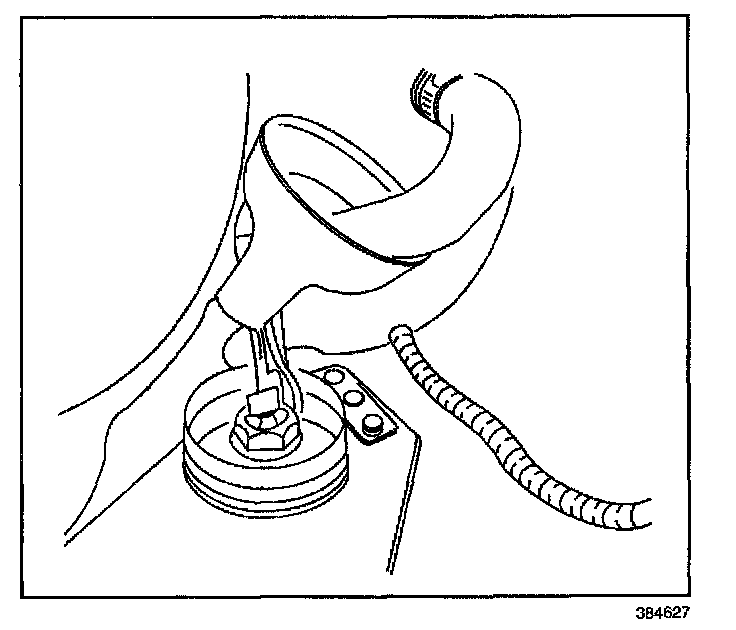
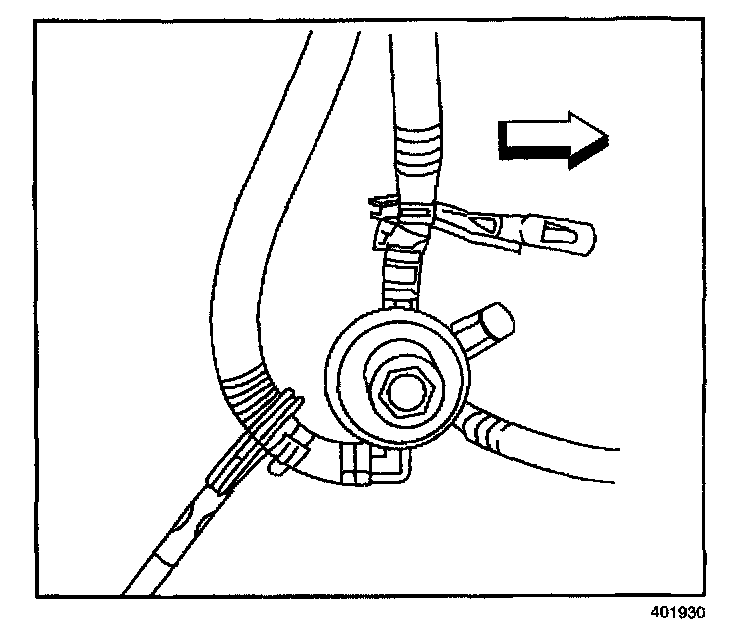
3. Loosen the lower vent hose clamp.
4. Pull the vent hose from the HPR.
5. Disconnect the HPR to the HPL fuel line from the HPR.
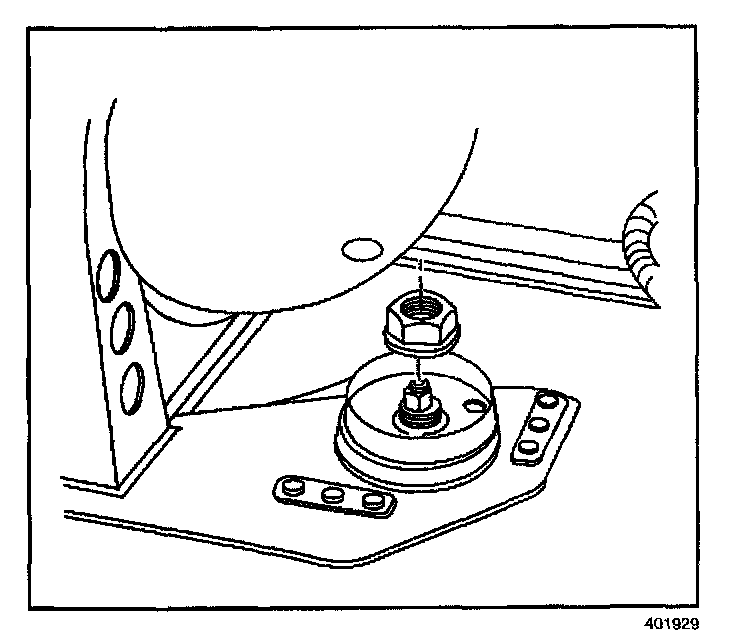
6. Remove the HPR mounting nut.
7. Raise and support the vehicle. Refer to Lifting and Jacking the Vehicle.
8. Install hose pinching clamps on the coolant inlet and the outlet lines at the HPR.
9. Remove the coolant hoses from the HPR.
10. Disconnect the fuel outlet line from the HPR.
11. Remove the HPR.
INSTALLATION PROCEDURE
1. Connect the coolant inlet and outlet hoses to the HPR.
2. Remove the hose pinching clamps from the coolant inlet and outlet lines.
NOTE: Refer to Fastener Notice in Service Precautions.
3. Connect the HPR fuel outlet line to the HPR using a new O-ring face seal. Lubricate the O-ring with petroleum jelly or the equivalent.
Tighten
Tighten the fuel line fitting to 24 N.m (18 lb ft).
4. Position the HPR through the mounting hole.
5. Lower the vehicle.
6 Install the mounting nut to the HPR.
Tighten
Tighten the HPR mounting nut to 55 N.m (41 lb ft).
7. Connect the HPL to HPR fuel line to the HPR using a new O-ring face seal. Lubricate the O-ring with petroleum jelly or the equivalent.
Tighten
Tighten the fuel line fitting to 24 N.m (18 lb ft).
8. Connect the HPL power electrical connector.
9. Start the engine. Inspect for CNG fuel leaks at each serviced fitting using the J 4141&
10. Install the vent hose to the HPR.
Tighten
Tighten the clamp to 2 N.m (18 lb in).
11. Raise the rear seat.
12. Check the coolant level. Add coolant as needed. Refer to Draining and Filling Cooling System in Cooling System.